Integrating with Xola
If you are building an application or integrating with a business system, you will need an Application API Key to connect to our platform. This doc will guide you through creating a developer account and generating an Application API Key.
Xola Environments
As an integration partner, you will work with two environments.
| Xola Sandbox | Xola Production |
|---|---|
| Base URL: https://sandbox.xola.com | Base URL: https://xola.com |
| This is a playground for your app development and testing while working with dummy data. | This is the live environment where production transactions happen. |
Create a Developer Account
Developer accounts are created via a POST request to the /api/users endpoint in each environment. The email address you provide must be valid and is required to respond to a confirmation email.
curl -H "Content-type: application/json" -X POST https://{base_url}/api/users -d '{
    "name" : "John Doe",
    "email" : "[email protected]",
    "password" : "<PASSWORD>",
  "roles": ["ROLE_DEVELOPER"]
}'
import axios from "axios";

const options = {
  method: 'POST',
  url: 'https://sandbox.xola.com/api/users',
  headers: {'Content-type': 'application/json'},
  data: {
    name: 'John Doe',
    email: '[email protected]',
    password: '<PASSWORD>',
    roles: ['ROLE_DEVELOPER']
  }
};

axios.request(options).then(function (response) {
  console.log(response.data);
}).catch(function (error) {
  console.error(error);
});
import requests

url = "https://sandbox.xola.com/api/users"

payload = {
    "name" : "John Doe",
    "email" : "[email protected]",
    "password" : "<PASSWORD>",
  	"roles": ["ROLE_DEVELOPER"]
}
headers = {"Content-type": "application/json"}

response = requests.request("POST", url, json=payload, headers=headers)

print(response.text)
echo '{
    "name" : "Ajit Readme",
    "email" : "[email protected]",
    "password" : "IDontKnow",
  "roles": ["ROLE_DEVELOPER"]
}' |  \
  http POST https://sandbox.xola.com/api/users \
  Content-type:application/json
A successful (200) response looks like below:
{
  "username": "[email protected]",
  "email": "[email protected]",
  "enabled": false,
  "roles": [
    "ROLE_DEVELOPER"
  ],
  "name": "John Doe",
  "updated": "<CREATED DATE>",
  "apiKey": "<API KEY>",
  "type": 3,
  "id": "<USER ID>"
}
Don't use the developer API Key for development
Always develop using your App API Key issued when creating an application in the App Store. The developer API key is used to interact with the Xola App Store and is not authorized to make API calls to the sandbox or production environment.
Please verify your email before the next step
Once the user is created, a verification email is sent to you. It is necessary to click on the verification link to activate your account.
Xola App Store Admin
Using your sandbox or production developer account credentials, log in to the desired Xola App Store and create your app.
Start all new development on sandbox
Xola will not approve new development that was not first built and tested in the sandbox environment.
Create your first integration in sandbox. Create your app in production once that you have reviewed your app with Xola.
Register your App
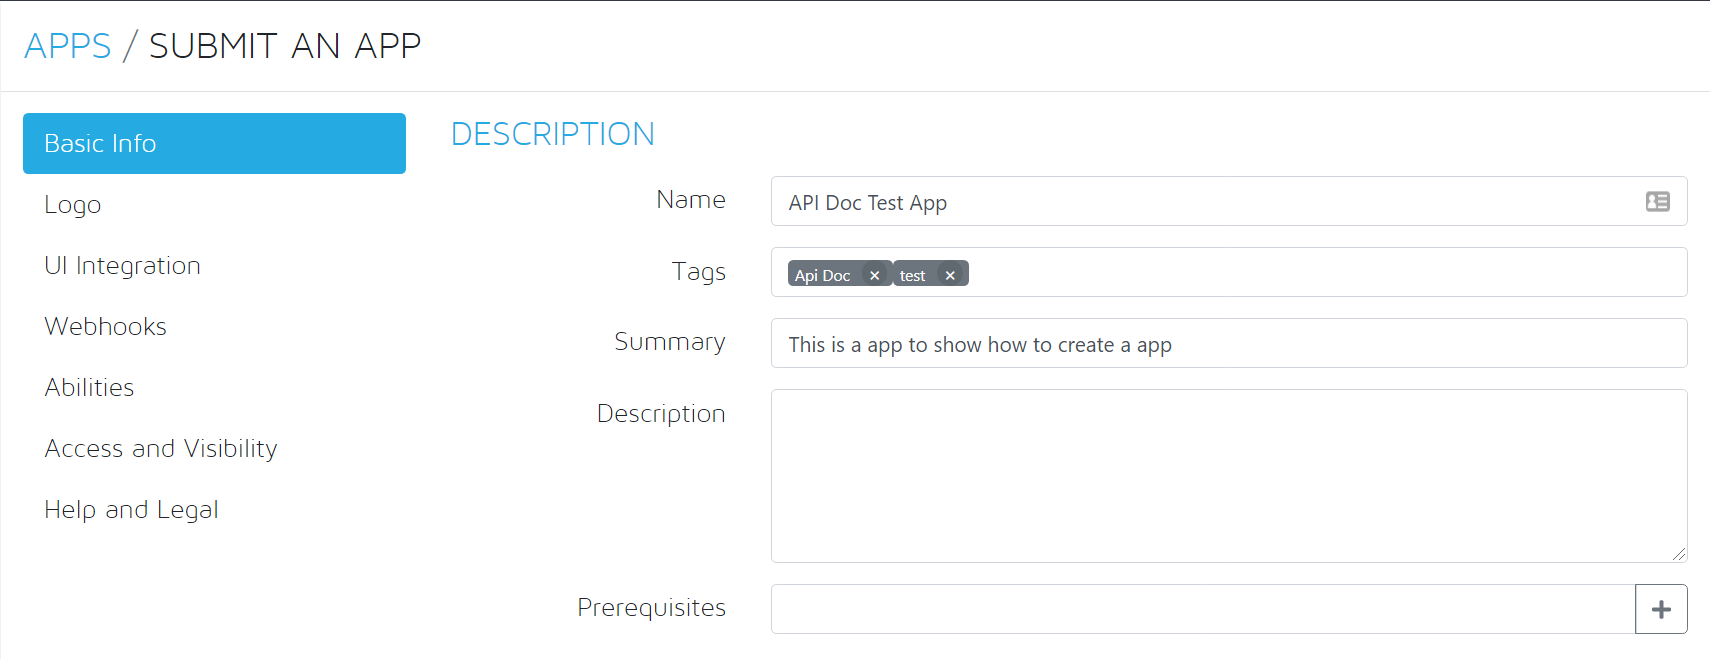
Creating your app begins with the registration process. There are 7 sections in the console for the app. You need to complete the following required sections:
Basic Info
Fill in as much information as possible on this section.
- The Name, Summary and Description are required.
- Click Submit

Save your submission
The App Store Admin app will not allow you to progress until you complete and save the "SUBMIT AN APP" page.
Logo
The app logo is shown on several screens in various sizes within the Xola Seller app. Ensure that it is 500x500 pixels and scales well.
- Select the logo.
- Upload a logo.
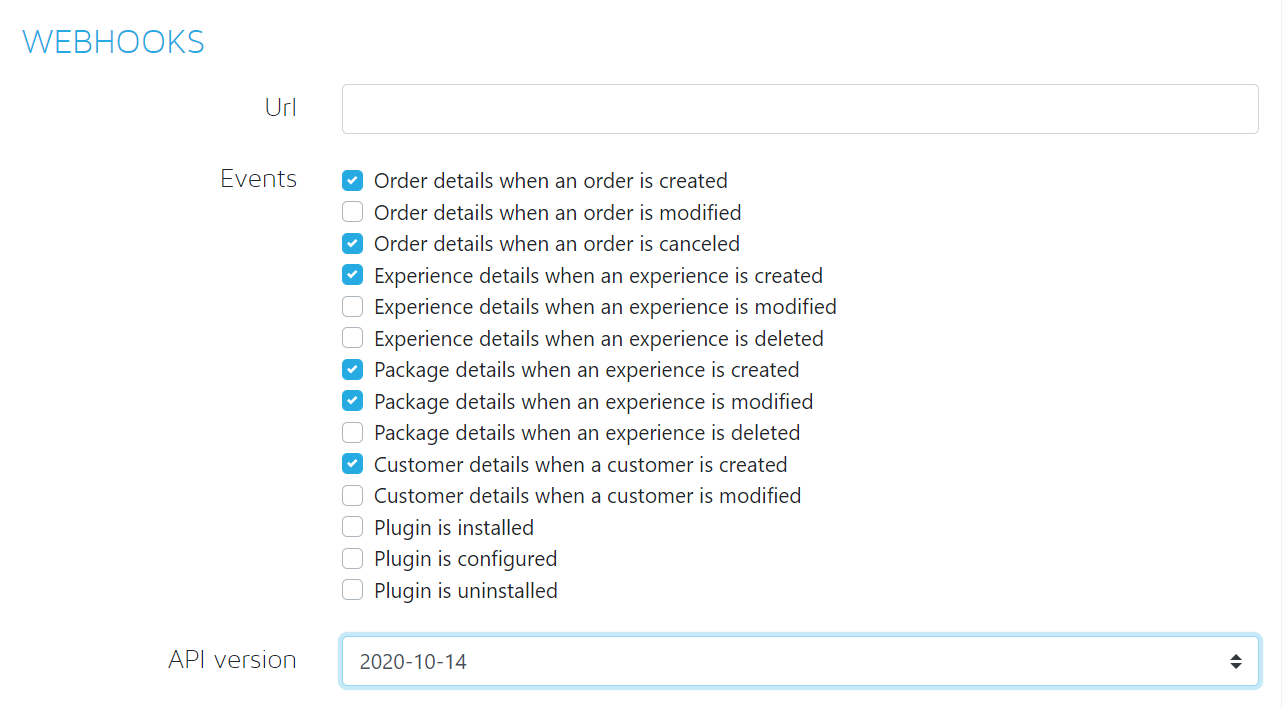
Webhooks
Refer to this list of events to identify the event.
Select the required events as needed by the business logic and select the latest API Version and click save.

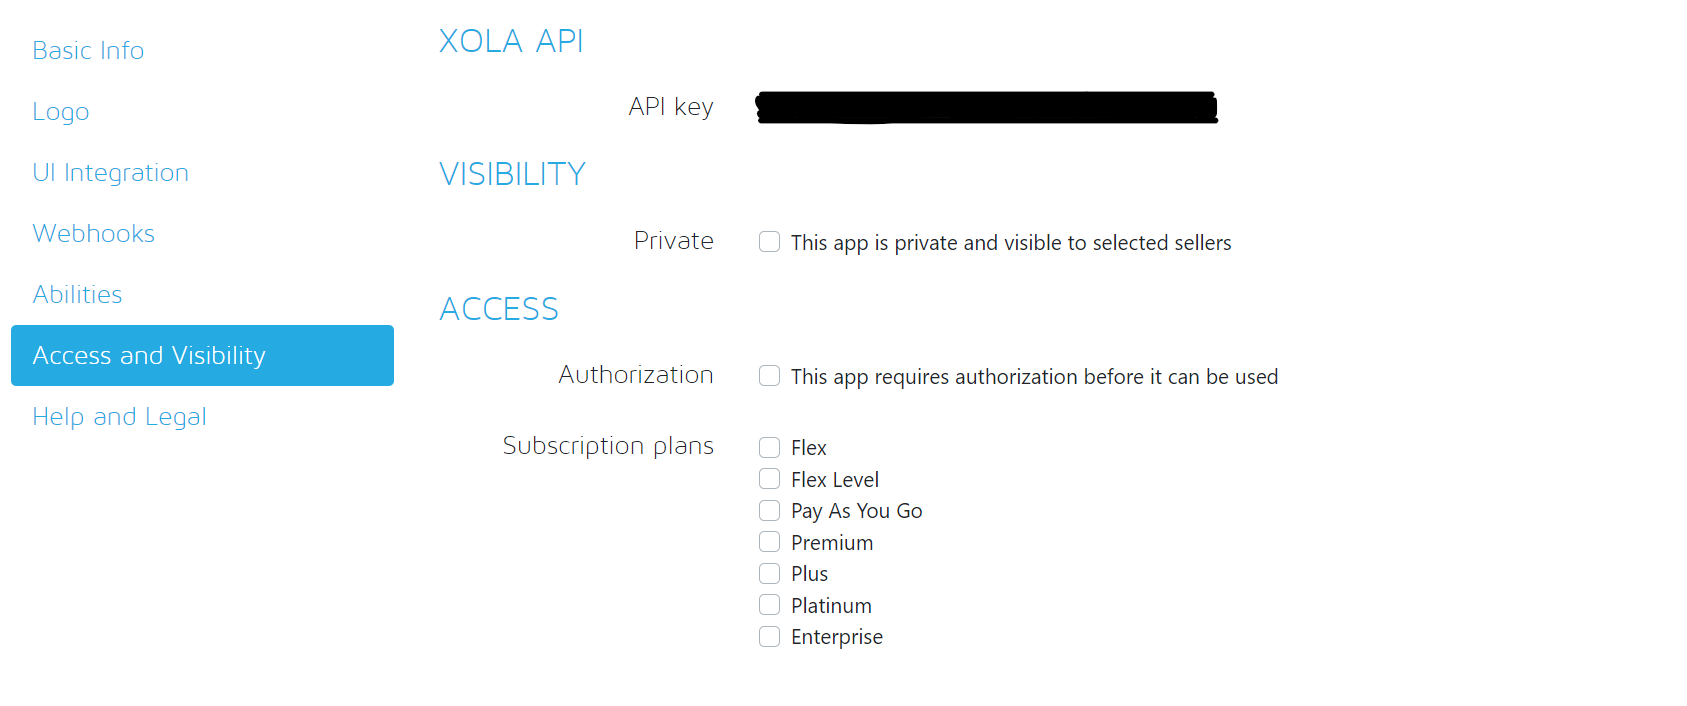
Access and Visibility
Once that you have saved the app, you can navigate to “Access and Visibility” to find your API key for your future use

As a best practice, start developing your app in "Private" mode. That way others will not discover your app accidentally and attempt to install it. Selecting a private app will allow you to enter a list of sellers via sellerID that have the ability to install your app.
Save your API Key
Use the App API Key from this page in your development
App Approval
Reach out to Xola via email to [email protected] once you've registered your app. You'll typically need to ask for 3 things:
- Schedule a kick-off call with a technical resource to go over the goals of your integration (we'll do our best to point you to all the relevant docs).
- Get your app approved (so that the API key works).
- Request a Seller Account for sandbox testing (so that you can see how your bookings look on Xola).
Design, test, build!
You have everything you need to integrate with Xola. We can't wait to see what you create!
Updated almost 2 years ago